| To create an object, click
on the desired tool, then move the pointer to the location where you want
one corner (or end of a line) of the object be positioned, then click
and drag to the location where you want the opposite corner to be placed,
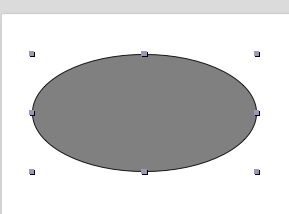
then release. The newly created object appears with handles indicating
that it is active.
To view and change the object settings, choose the Show Information Palette menu option
from the Object menu. The Information Palette will appear on the right of the
window. Choose the Object Properties option. Alternatively, you may also use the click sequences to display
the Object Info panel:
- Control key + double click the rectangle and oval objects
The rectangular and oval objects can be switched to the text insertion mode
by double clicking on them (see Adding Text).
|

