|
To export images you should select the destination folder. For this, use Export To: control on the top of the Preview Area.
The default destination is your Desktop folder.

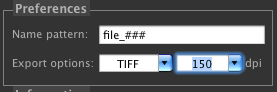
Specify the name pattern in the Preferences. The default patter is $_###, which means that the exported file names will
consist of the name of the PDF file, the sequential number part from three digits, and the extension. Say, if your PDF file name is
"samplePDF.pdf", and you wish to export the images as JPEG files, then the exported file names will be will be "samplePDF_001.jpeg", "samplePDF_002.jpeg",
etc. If you replace the file name to be "image", then the exported file names will be "image_001.jpeg", "image_002.jpeg" etc.
Set the desired Export format and resolution.
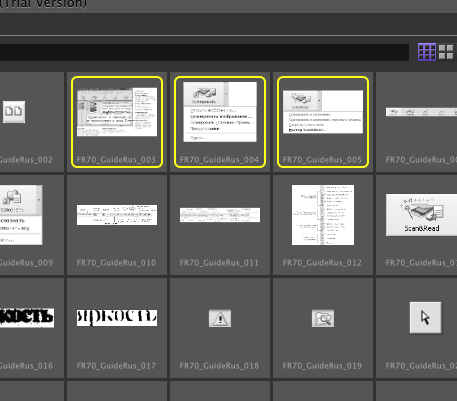
Click to select an image to export, or Shift click to select multiple images. If you do not select any image, all the images contained in the Preview
area will be exported.
Export the images by clicking on the Save, or Save All buttons. There are four more convenience buttons : JPG, PNG, TIF, and ICNS, saving the files being exported in
the correspondent file formats. Say, you do not wish to change the Preference, and in the same time you need PNG file(s). Clicking on the PNG button will export images as
.png files.

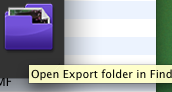
To reveal the exported files in Finder, use the File>Show Export Folder menu option, or the correspondent button of the right of the Tools area.
|